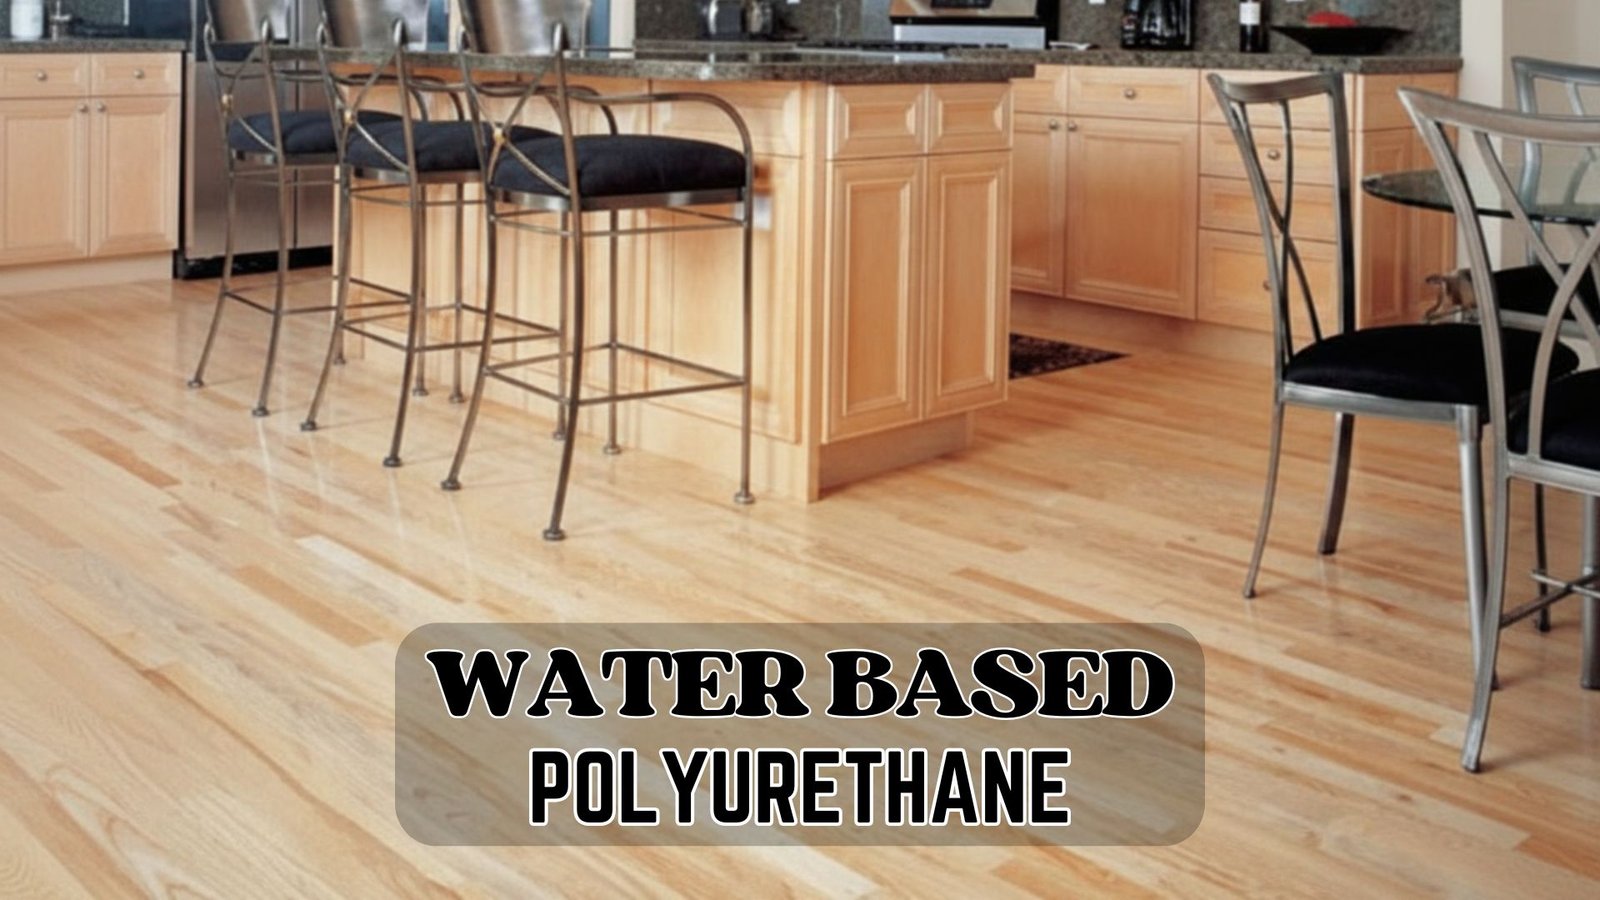
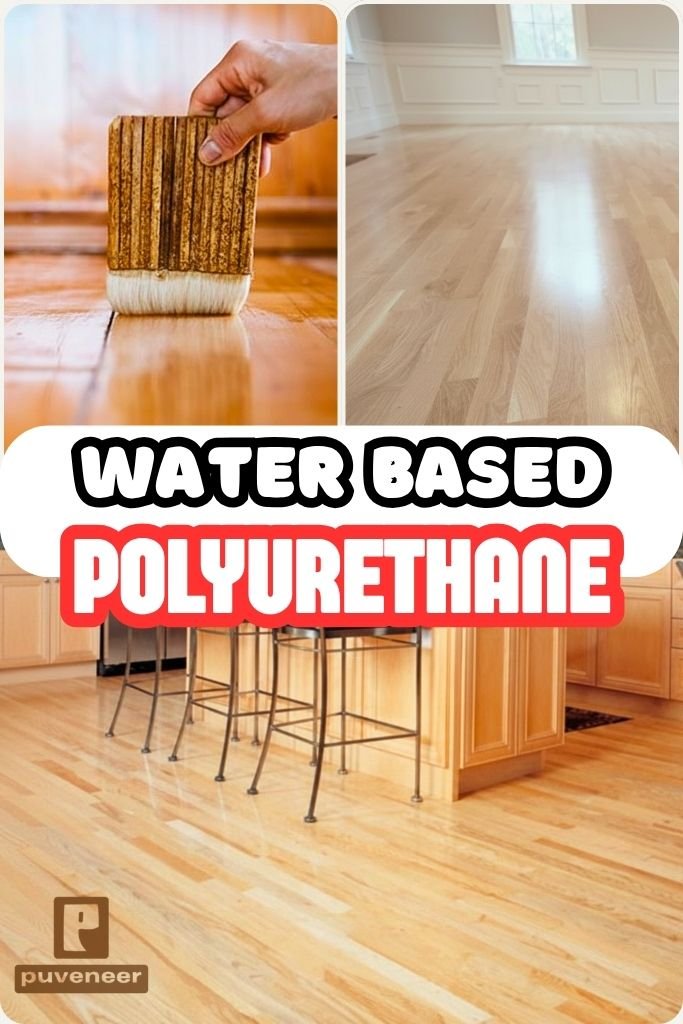
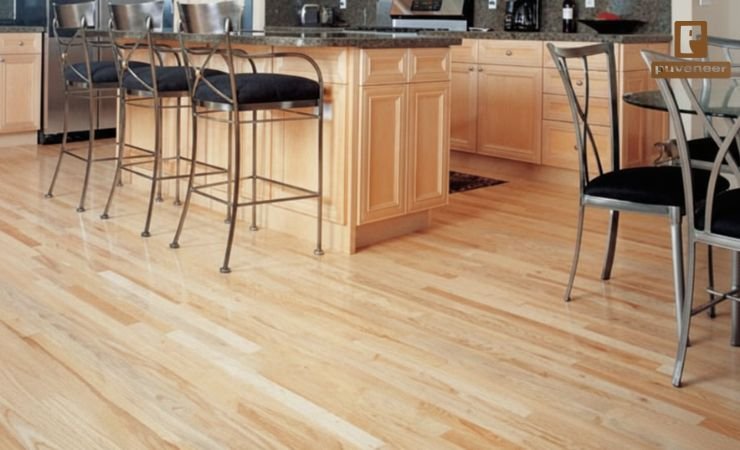
I recently completed a project in which I applied Water Based Polyurethane to a wooden floor, and the results were impressive. It made the room look new, making it a great option for homeowners who want to protect their floors and improve their appearance.
This topic is especially relevant for homeowners, DIY enthusiasts, and interior designers interested in its benefits. In this post, I will share my experience and outline the basics, benefits, and step-by-step process of applying it. By the end, you will know how to use it to enhance your home.
What Is Water Based Polyurethane and How Does It Work?
Water Based Polyurethane is a key that can transform a room’s look. When light hits the floor, it shines and creates a warm glow. The finish is smooth and even, showing off the wood’s natural beauty. People often notice the finish first, and it can greatly influence how the room looks.
On the practical side, it protects against scratches and spills. It is easy to clean and maintain, and it withstands heavy foot traffic. I have seen how it prevents damage and helps floors last longer. If you’re new to applying it, it may seem scary, but it is easier than it looks.
With good preparation and technique, anyone can achieve a professional-looking finish. I remember applying it to my own floor and being amazed at how easy it was to get a great result. The finish was smooth and even, looking like a pro did it.
Why Proper Application Matters for Long-Lasting Results
Getting it right is important because it greatly affects how a room looks and feels. It’s not just about appearance; it also affects durability and function. A good finish protects the floor from damage and makes it easier to clean and maintain.
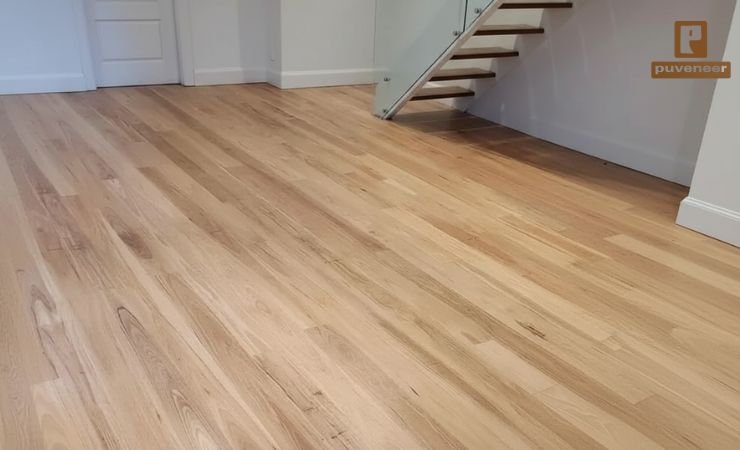
When applied correctly, it provides a beautiful, long-lasting finish that enhances the room’s overall look. I have seen many examples of how a well-done finish can completely change a space.
The key is to take the time to prepare the surface and apply the finish correctly.
How do I apply Water Based Polyurethane?
Applying takes some patience and attention to detail, but the results are worth it. With the right technique and materials, anyone can get a professional-looking finish.
Start by preparing the surface properly. Apply the finish in thin coats; this makes a big difference in the result. Always follow the manufacturer’s instructions and take the right safety precautions.
By doing this, you can achieve a beautiful, long-lasting finish that enhances your home.
Key Benefits of Choosing a Water-Based Finish
Applying has greatly improved my home. It is easy to use, and the results are impressive. I used it on my floors, and it greatly enhanced the overall look of my home. The finish is smooth and even, giving it a professional look.
It’s also easy to clean and maintain, and it holds up well under heavy foot traffic. I recommend it for anyone wanting to improve their home’s appearance.
What Makes a Good Polyurethane Finish Last
A good polyurethane finish requires careful preparation and application. Start with a clean, smooth surface to create a strong bond between the finish and the material. Apply the finish in thin layers, allowing each layer to dry completely before adding the next.
This process may take time, but the results are worth it. A high-quality polyurethane finish can last for many years and provides a beautiful, protective layer.
I’ve found that the type of polyurethane affects the final look and durability. It’s a great choice because it’s easy to apply and dries quickly. It is also better for the environment than oil-based options.
The key to a good polyurethane finish is how well it bonds to the surface, which requires the right materials and a well-prepared area. When done correctly, the finish improves the surface’s appearance and lasts a long time. Taking the time to prepare the surface properly and apply the finish in thin coats is essential.
While this process may take time, the effort leads to great results.
What You’ll Need
To apply, you will need a few basic items:
Polyurethane Finish (1 gallon): This is the main product you’ll use. It’s easy to apply and dries quickly. You can find it at most hardware stores. You might also consider an oil-based finish, but it takes longer to dry and has stronger fumes. Make sure any finish you use is suitable for your surface.
Primer (1 quart): This is optional, but it helps the finish stick better. Using a primer creates a strong bond and can give a uniform base color.
Sandpaper (120-grit): Use this to smooth the surface before applying the finish. A higher grit rating produces a smoother finish, while a lower grit rating produces a more textured finish.
Clean Rags: Use these to wipe down surfaces and clean up spills. Clean rags help keep dust and dirt out of the finish. You can also use a vacuum to remove dust and debris.
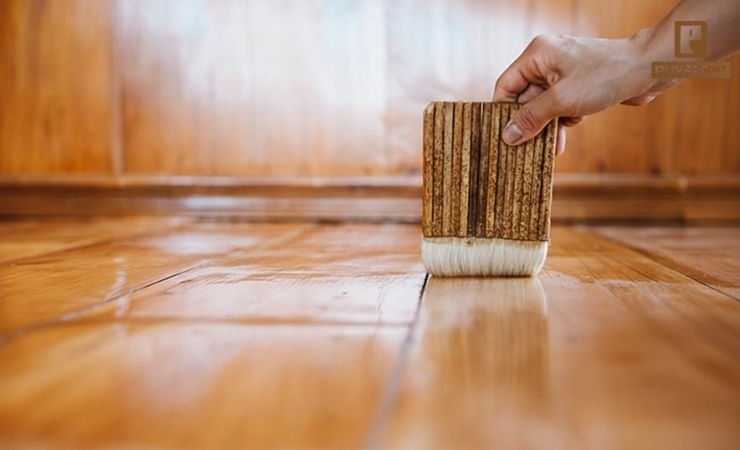
Paintbrushes (1-inch and 2-inch): These are for applying the finish and primer. High-quality brushes help create a smooth finish. A roller can also work, but make sure it fits the surface you’re working on.
Drop Cloths: These protect the surrounding area from spills and drips. Use drop cloths to protect your space from damage. Old sheets or tarps can also work.
Recommended Tools
Here are the tools you need to apply:
- Paintbrush – for applying the finish and primer
- Roller – for covering large surfaces with the finish
- Sandpaper – for smoothing the surface
- Clean rags – for wiping the surface and cleaning up spills
- Drop cloths – for protecting the area around your project
Step-by-Step Guide to Applying Water Based Polyurethane
Step 1: Prepare and Sand the Surface Properly
First, prepare the surface. Start by sanding it to smooth it. Use sandpaper with a high grit rating for the best results. After sanding, wipe the surface with a clean rag to remove any dust or debris. This step is important because it helps the finish stick better. When done right, the finish will cover evenly and last longer.
Step 2: Apply Primer for Better Adhesion
Applying primer is optional, but it helps the finish stick to the surface. Use a paintbrush to cover the entire area with primer. Wait for the primer to dry completely before adding the finish. This step is important because it creates a smooth base color for the finish. If applied correctly, the primer will help the finish stick evenly and provide a durable coating.
Step 3: Apply Thin, Even Coats of Finish
Now it’s time to apply the finish. Use a paintbrush to cover the entire surface. Apply thin coats of finish and let each coat dry completely before adding the next. This step is important because it makes the finish strong and durable. If done correctly, the finish will look nice and last a long time.
Step 4: Allow Proper Drying and Curing Time
Let the finish dry completely. Drying time varies depending on the finish you use, so follow the manufacturer’s instructions. This step is important for a strong, long-lasting coat. When it’s done properly, the finish will feel dry to the touch and be ready for use.
Step 5: Add Additional Coats for Durability
If needed, apply more coats of the finish. Follow the manufacturer’s instructions for the number of coats to apply. This step is important because it makes the coating strong and durable. When you do this correctly, the finish will look nice and last a long time.
How to Achieve a Professional-Quality Finish That Lasts
One common mistake beginners make is not sanding the surface enough, which can lead to an uneven finish. To avoid this, sand the surface well before applying the finish.
To achieve a smooth finish, applying it in thin coats helps prevent it from becoming thick and uneven. Always follow the manufacturer’s drying instructions so the finish cures correctly and lasts longer.
Follow the manufacturer’s safety precautions, which include wearing gloves and working in a well-ventilated area. Clean up any spills or drips immediately to prevent the finish from becoming sticky and hard to work with.
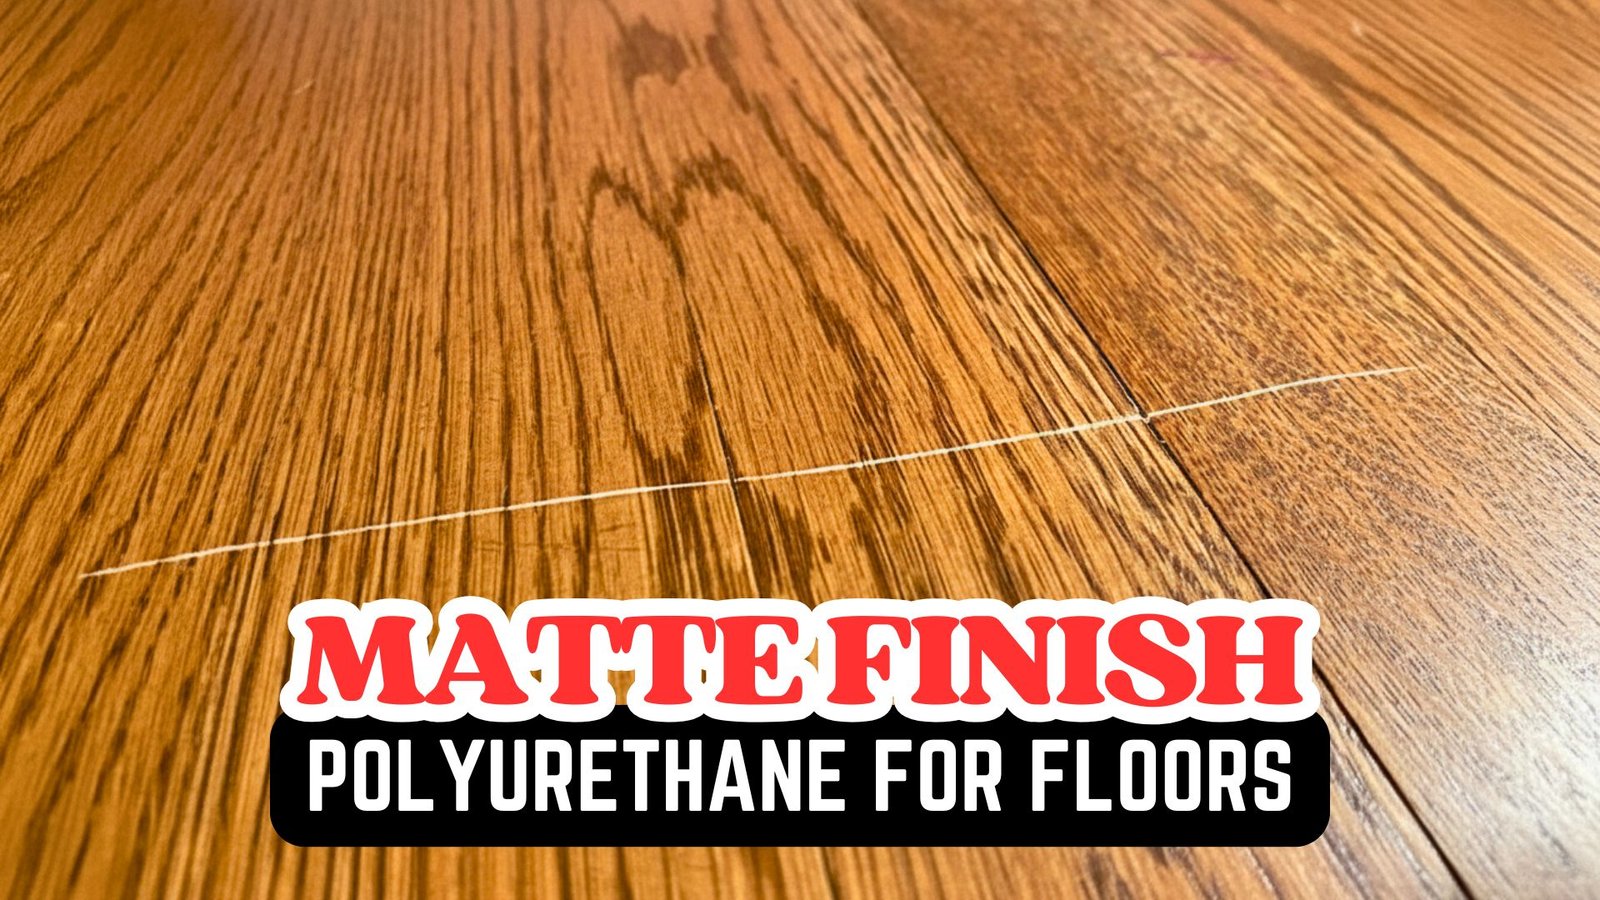
Finish Options: Matte vs Glossy and What to Choose
If you’re on a tight budget, consider using a water-based finish. This option is not only affordable but also easy to apply and dries quickly. For those wanting a high-quality finish, a premium option is ideal.
If you prefer a subtle look, go for a matte finish that’s not too shiny. For a bold effect, choose a glossy finish. This option will make your surface stand out.
What Results to Expect After Application
After you apply, you can expect a nice, long-lasting finish. The finish will be smooth and even, enhancing the surface’s appearance. It will also create a protective layer that helps prevent damage and wear.
The finish will feel dry to the touch within a few hours, but it may take several days to cure fully. During this time, avoid using the surface or walking on it heavily. Once fully cured, the finish should last for many years with proper care and maintenance.
How to Maintain and Extend the Life of Your Finish
Routine Cleaning and Care Tips: To keep the finish looking good, wipe it with a clean cloth and avoid harsh chemicals. You can use a gentle cleaner on the surface. Don’t use abrasive materials, as they can scratch the finish.
How to Handle Scratches and Repairs: If the finish gets damaged, you can touch it up with a small amount of the same finish. Follow the manufacturer’s instructions for any repairs. You can also use a repair kit to fix damaged areas.
Expected Lifespan and When to Re-coat: With proper care and maintenance, the finish can last for many years. Regularly check the finish and touch up any damaged spots to keep it lasting longer.
Frequently Asked Questions
Can it be used on all surfaces?
This type of polyurethane is not suitable for every surface. Check the manufacturer’s instructions to see if it is appropriate for your surface. It works well on wood, metal, and concrete, but not all surfaces.
How long does it take to fully dry and cure?
Drying time varies depending on the manufacturer’s instructions and environmental conditions. Typically, it dries within a few hours, but it may take several days to cure fully, so follow the manufacturer’s guidance.
Applying Water Based Polyurethane is an easy way to improve the look of any surface. With proper preparation and technique, you can achieve a beautiful, long-lasting finish.
Always follow the manufacturer’s instructions and take safety precautions, as it’s ideal for those who want an easy-to-apply, durable coating.