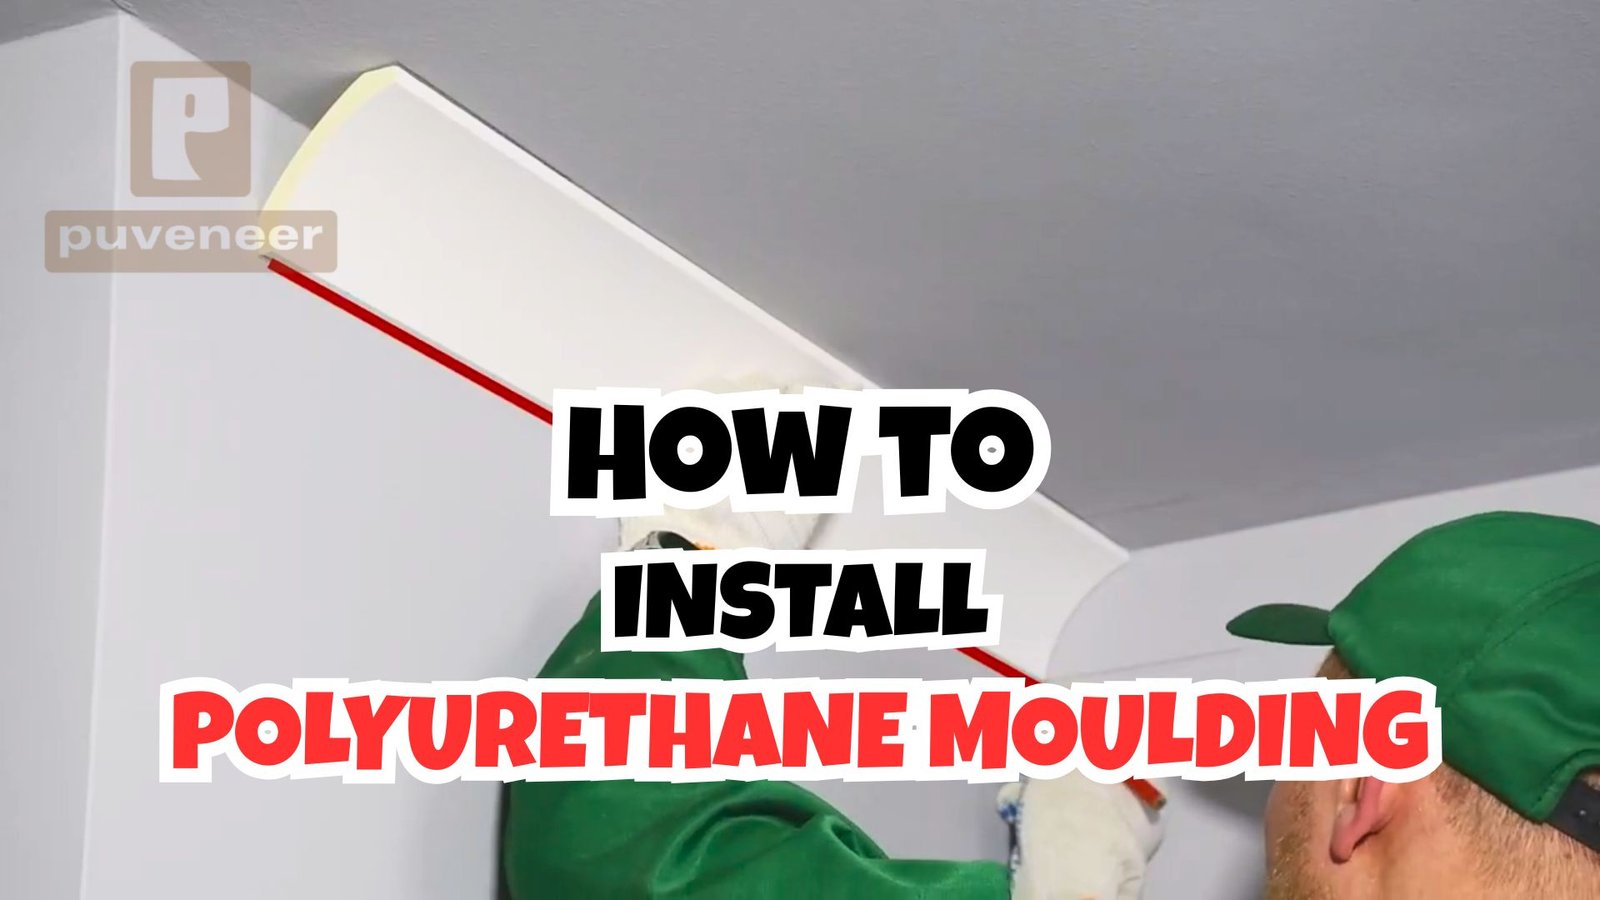
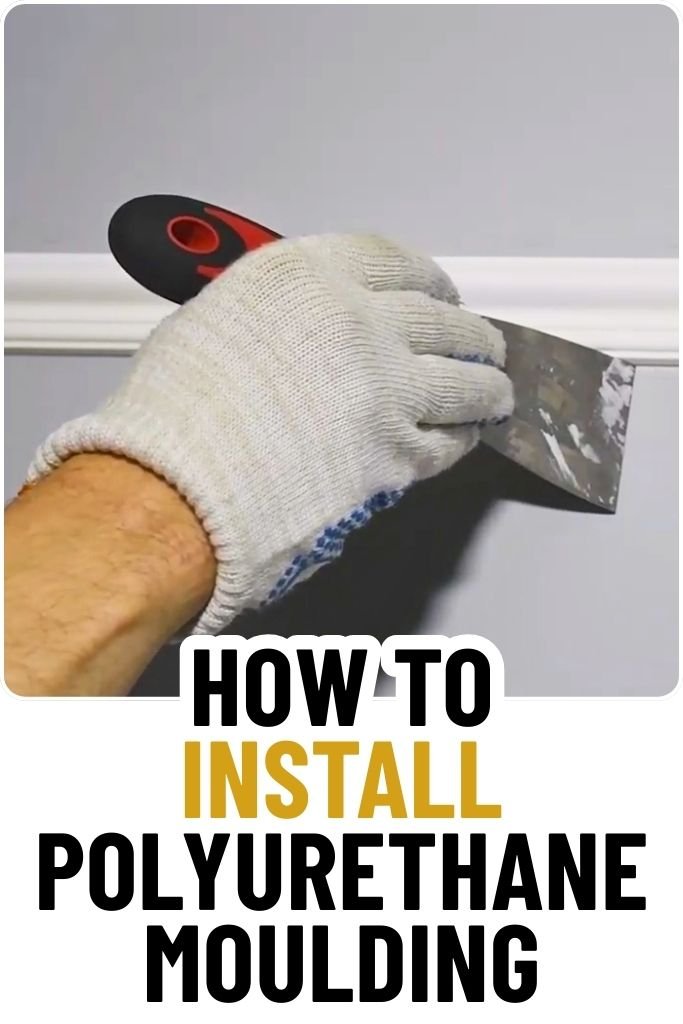
Install Polyurethane Moulding seems easy at first. However, problems arise when the project falls behind schedule, joints begin to split, or clients start asking questions.
I write this blog because I know how small installation choices can lead to significant cost problems on sites. If you’re buying for offices, hotels, retail spaces, or large commercial projects, consider speed, labor, risk, and long-term value, not just appearance.
In this blog, I will explain how to install polyurethane moulding clearly and straightforwardly. You won’t find fluff or sales talk here, just honest answers to the questions B2B buyers ask before choosing materials.
I will guide you through the process, costs, comparisons, risks, and best practices. I’ll use real-world examples so you can decide if polyurethane moulding is a good fit for your project.
Step-by-Step Process for Install Polyurethane Moulding
Installing polyurethane moulding is a simple process that many contractors prefer for commercial projects.
First, check the wall or ceiling surface. It should be dry, clean, and flat. Remove any dust, grease, or loose paint. This step is crucial as ignoring it can lead to problems later.
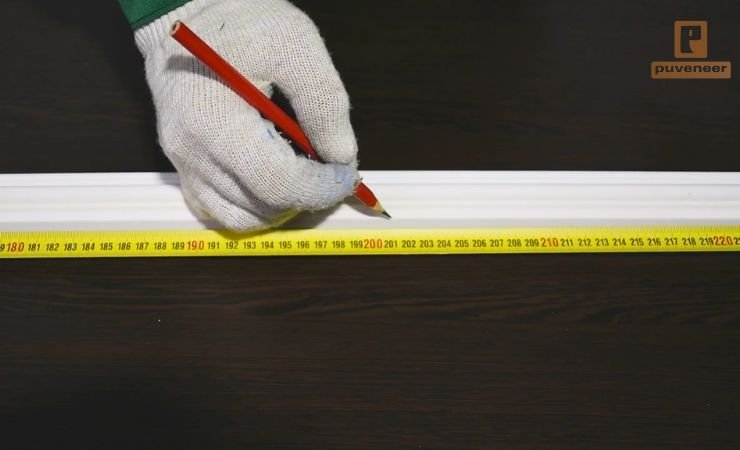
Next, dry-fit the mouldings, which means placing them in position without glue, to check their length and fit in the corners and joints. Use a fine-tooth saw or miter saw for cuts.
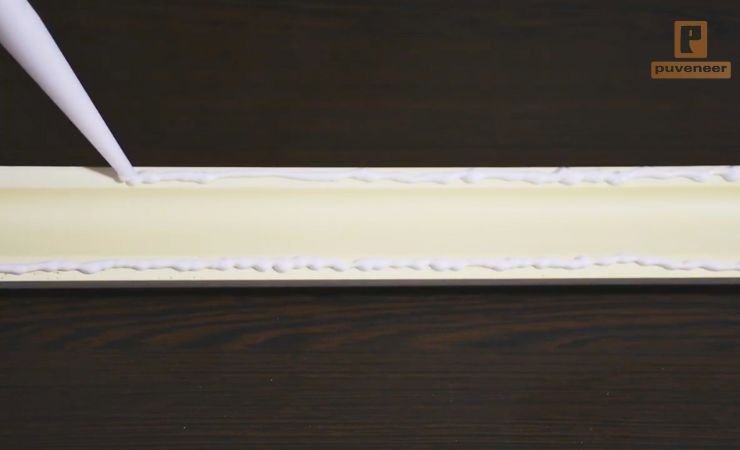
Polyurethane cuts cleanly, so you won’t deal with splintering as you do with wood. After fitting, apply adhesive to the back of the moulding in a steady line.
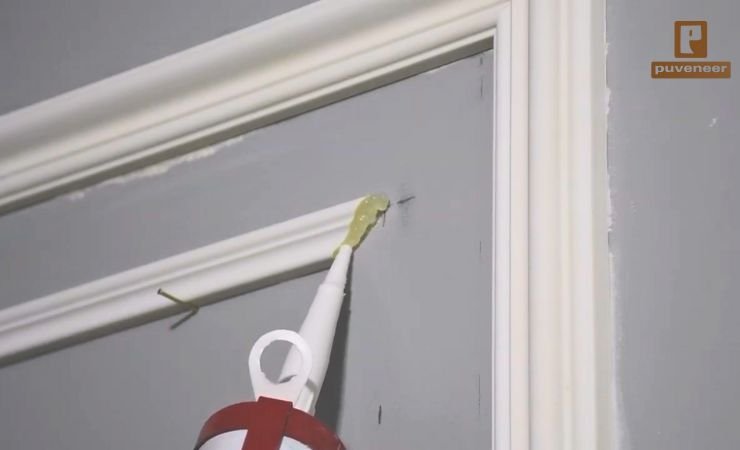
Then, press it into place and align it. You only need light pressure. In some cases, use temporary pins or brads to hold the moulding while the adhesive sets.
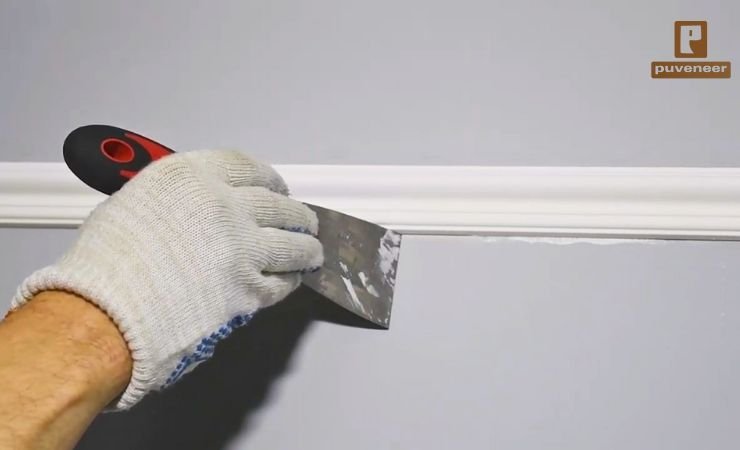
Fill the joints with sealant, smooth it out, and let it cure. Finally, perform any necessary sanding and painting.
Essential Tools for Installation
You will need a short list of tools for large sites. Essential tools include a tape measure, pencil, level, fine-toothed handsaw or miter saw, caulking gun, adhesive, sealant, and a damp cloth.
For longer projects, installers use laser levels and chop saws to save time and work more efficiently. You won’t need heavy carpentry tools or plaster equipment, which is a significant advantage.
Having fewer tools means you need fewer skilled workers and less setup time. For commercial buyers, this results in faster installations and reduced labor risk.
Recommended Adhesives for Secure Bonding
Use a high-quality construction adhesive made for polyurethane. It sticks well to concrete, drywall, MDF, and painted surfaces. Avoid basic silicone or inexpensive grab glues, as they won’t hold up for commercial projects.
For joints, use a paintable acrylic or polymer sealant that keeps seams flexible and helps prevent cracks over time. Choosing the wrong adhesive can quickly ruin a sound installation.
Common Installation Mistakes to Avoid
Most mistakes come from human errors, not the materials used. The biggest mistake is poor surface preparation. Another standard error is rushing to cut corners.
Using too much adhesive is also a problem. Using more glue doesn’t create stronger bonds, but it creates a mess and makes cleanup more difficult.
Finally, failing to consider temperature conditions can cause trouble. Installing in cold spaces slows down the curing process and may lead to gaps in the joints later.
Suitability for Large Commercial Buildings
Yes, polyurethane is lightweight and easy to work with, making it ideal for large-scale projects. Crews can complete projects up to 40% faster compared to using wood or plaster.
Polyurethane saves time, reduces breakage, and lowers worker fatigue. For example, a hotel corridor that usually takes three days to complete with plaster can often be done in two days with polyurethane.
Its lighter weight and fewer preparation needs help complete the job faster, which is crucial in commercial construction. That’s why many professionals choose it for big commercial spaces.
Skill Level Required for On-Site Installation
You only need basic carpentry skills to install polyurethane mouldings. On many projects, general finish units can install polyurethane mouldings without any trouble.
For corporate buyers managing multiple locations, it is crucial to have better control over timelines, especially when skilled workers are in short supply. This way, they can rely less on the external technician.
Labor Cost Comparison With Traditional Moulding
Installing polyurethane moulding usually costs less in labor compared to traditional moulding. Installers can work faster, require fewer helpers, and make fewer mistakes.
The material cost of polyurethane is higher than that of other regular materials, but the lower labor costs make it a better choice overall.
Many commercial buyers appreciate the stable and predictable prices, as they help reduce unpredictable costs. Prices depend on the size of the profile and the scale of the project.
Maintenance Costs After Installation
Polyurethane mouldings are easy to care for. Unlike plaster, which can break, wood that can warp, and MDF that can swell, polyurethane stays stable over time, helping to avoid many common problems.
When asking about costs, be aware of hidden fees. These often come from delays, rework, and damage. Downtime is another hidden cost. Quicker installations lead to less disruption in areas like offices or retail stores.
Installation Risks and Code Compliance
Polyurethane moulding can be used in damp areas, such as bathrooms, kitchens, spas, and coastal buildings. However, extreme cold can slow down the drying of glue, and extreme heat can cause adhesives to become soft.
Always install moulding within the manufacturer’s recommended temperature range, which is usually between 50°F and 95°F. Ignoring temperature changes can cause joint problems later.
For outdoor projects, choose polyurethane that is rated for exterior use. Look for products with UV-resistant coatings and weatherproof adhesives. Ensure that you check the product specifications and avoid using interior-grade materials.
Properly installed polyurethane moulding last for decades. They don’t rot, crack easily, or warp. Lifespan often exceeds 20-30 years indoors.
Commercial Use Cases and Best Practices
Using polyurethane moulding in hotels and hospitality projects requires a quick setup in each room with minimal noise. These mouldings are easy to install with adhesive, which means less drilling and less dust.
For offices, you can schedule installations outside of regular business hours. Polyurethane sets quickly, allowing spaces to reopen soon. Clean installations are vital in populated buildings.
In retail environments, polyurethane moulding can be installed overnight without disrupting business. The lightweight materials and fast curing help avoid lost sales.
For renovation projects, polyurethane mouldings are beneficial as they can adapt to uneven walls. Their flexibility covers minor defects, reducing the need for extensive preparation and patchwork.
Finishing, Painting, and Quality Inspection
You can paint polyurethane moulding after installation, typically within 24 hours.
In some cases, you may even be able to paint them sooner. Always wait for the adhesive to cure correctly. If you paint too early, moisture can get trapped.
Use water-based paints and do some light sanding. It’s best to finish the mouldings after they are installed. Avoid heavy coatings that can hide details, as clean lines are essential in commercial spaces.
To verify the quality of the installation before handing over the project, inspect the alignment, joints, adhesion, and finish. Gently press on the moulding to ensure they are securely bonded.
Check for visible seams in good light. If you overlook a problem now, it could lead to warranty issues later.
Frequently Asked Questions
FAQs About Installing Polyurethane Moulding
No, it’s quieter than plaster or wood. Most noise comes from cutting, not from assembling it. Less noise means fewer complaints and a smoother project.
Yes, but be careful. The adhesive sticks well, so removing it might damage the paint or drywall, just like with other types of moulding. Ensure that you plan your layout carefully to avoid unnecessary work.
Yes, many manufacturers like us offer custom designs. It may take some extra time, but the installation process stays the same. It is a significant advantage for businesses seeking to enhance their branding.
Most of them are safe after they are cured and release low levels of VOCs. Always ask for product data sheets to ensure they meet green building standards.
If you’re working on commercial projects, using polyurethane moulding is a wise choice. They install quickly, reduce labor costs, minimize mistakes, and provide reliable results that last a long time.